
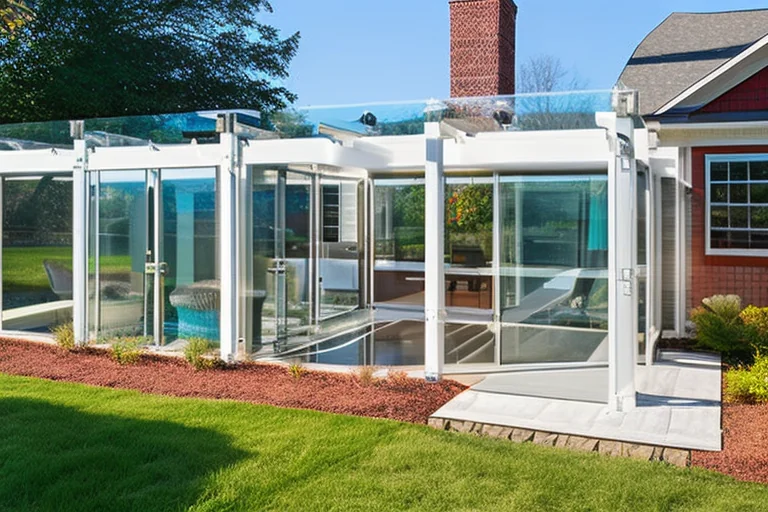
Installing a polycarbonate canopy is one of the smartest upgrades you can make to a home or commercial property, offering a perfect blend of shelter, natural light, and modern aesthetics. But before the first panel is ever lifted into place, the true foundation of the project is laid with a tape measure, a notepad, and careful forethought. Rushing into installation without a solid plan is the most common cause of headaches, from ill-fitting components to structural issues. This guide, drawn from professional architectural and engineering practice, will walk you through the critical steps of measuring and planning your installation. We’ll transform what might seem like a daunting task into a clear, manageable process, ensuring your new canopy is precisely tailored to your space, needs, and local climate.
Laying the Groundwork: Initial Site Assessment and Measurement
The journey begins not with a purchase order, but with a thorough walk-around of your intended installation site. This phase is about gathering raw data and understanding the canvas you’re working on. Start by defining the exact footprint. Using a long, reliable tape measure or a laser distance measurer, record the length and width of the area you wish to cover. Don’t just measure once; take multiple measurements at different points, especially if your house wall or existing structure isn’t perfectly straight. Note these dimensions clearly. Next, identify and mark all attachment points. For a wall-attached (lean-to) canopy, measure the exact height where the ledger board or supporting bracket will be mounted. For a freestanding structure, you’ll need to plot the location of all support posts on the ground.
Beyond simple dimensions, a professional assessment considers the site’s personality. Where does the sun travel throughout the day? This will influence the canopy’s orientation and potential need for integrated shading. What is the prevailing wind direction? This is crucial for planning water runoff and ensuring the structure can handle wind loads. Examine the ground or deck surface where supports will land. Is it level? If not, you’ll need to account for adjustments in post heights or use pier blocks. Check for overhead obstructions like tree branches, power lines, or eaves. Finally, locate any underground utilities before you even think about digging post holes; a call to 811 in the US is a non-negotiable safety and legal step.
Design and Material Selection: Choosing the Right Components
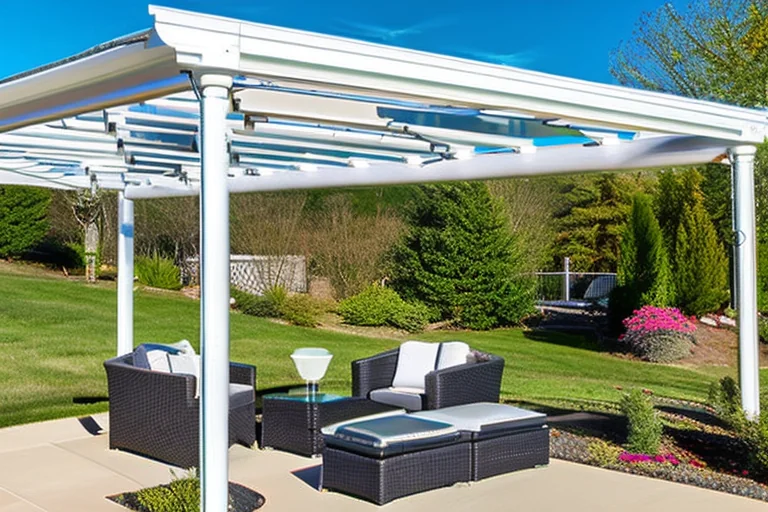
With your site dimensions in hand, you can move into the exciting phase of design and material selection. Your measurements directly dictate the scale of the structural framework. For spans under 10 feet, aluminum extrusions are often sufficient and offer excellent corrosion resistance. For larger spans or areas with heavy snow loads, a steel framework provides the necessary strength. The choice between a wall-mounted lean-to and a freestanding structure is also dictated by your site; if you lack a suitable load-bearing wall, freestanding is the way to go. The heart of the canopy is, of course, the polycarbonate sheet. Here, your local climate is king. For areas with intense sun, a multiwall polycarbonate sheet with UV-coating on multiple sides is essential to prevent yellowing and maintain impact strength.
Sheet thickness directly relates to insulation (R-value) and load-bearing capacity. A 16mm multiwall panel offers great insulation for a patio cover, while a 6mm solid sheet might be chosen for a curved, decorative feature. Don’t forget the ancillary components. The right profiles for sealing the panel ends (end caps) and joining sheets together (H-profiles or ridge caps) are vital for preventing dust and insect ingress. For a sleek, modern look with minimal visible framework, consider exploring our premium suspended canopy systems, which use tension cables for a visually light effect. Always order your polycarbonate sheets slightly longer than your measured span to allow for thermal expansion and a proper overhang for drip clearance.
Understanding Loads, Codes, and Permit Requirements
This is where planning meets the rulebook. A canopy is a structural element, and it must be designed to handle specific loads. Dead load refers to the constant weight of the structure itself—the framework, panels, and any integrated lighting. Live load is the variable weight, primarily from snow accumulation and, to a lesser degree, maintenance personnel. Wind load is a critical lateral force that tries to uplift or shift the canopy. Your local building code provides the minimum design requirements for these loads based on your geographic zone. Ignoring this step can lead to catastrophic failure.
Speaking of building codes, you must determine if your project requires a permit. This is not a suggestion; it’s a legal requirement in most municipalities for permanent structures. Factors triggering a permit often include the canopy’s size (e.g., over 100-200 square feet), its attachment to your home, and its height. The permit process ensures your plans are reviewed for safety and compliance with zoning setbacks (how close you can build to a property line). Engaging with your local building department early can save immense time and cost later. They can provide you with the specific wind and snow load maps for your area, which are indispensable for engineering your support system.
Creating Your Installation Blueprint and Final Checklist
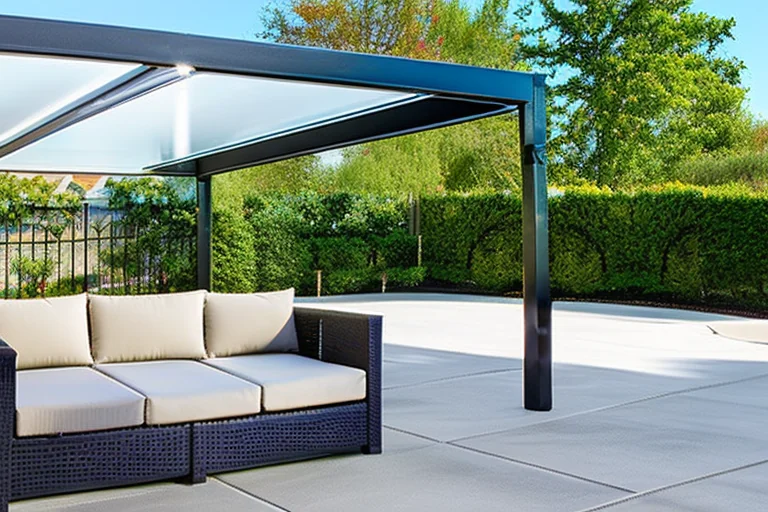
Now, synthesize all your gathered information into a working blueprint. This doesn’t need to be a professional architect’s drawing, but a clear, scaled sketch is invaluable. On your plan, mark all dimensions: overall length and width, post locations and spacing, beam and purlin layout, and the overhang distance. Indicate the slope for drainage—a minimum of 1/4 inch per foot is standard. Detail your attachment methods: the size and spacing of anchors for wall-attached canopies, or the depth and diameter of concrete footings for posts. This plan is your roadmap and will be essential for purchasing the correct quantities of materials.
Before the installation day arrives, run through a final pre-installation checklist. Have you acquired all necessary permits? Are all materials on-site and protected from the elements? Do you have the correct tools, including a quality drill, level, saw suitable for cutting polycarbonate (a fine-toothed blade), and safety equipment? Have you reviewed the manufacturer’s specific installation guidelines for the polycarbonate panels, particularly regarding which side faces outward (the UV-protected side) and the required spacing for thermal expansion? Have you planned for water management, ensuring gutters or drip channels are in place to direct runoff away from walkways? A final review of your plan with a critical eye will catch small issues before they become big problems, paving the way for a smooth and successful build.
Ready to move from planning to reality? Your meticulous measurements and design considerations are the blueprint for a stunning and durable outdoor space. To explore a wide range of styles and find the perfect system for your project, we invite you to Browse Our Complete Polycarbonate Canopy Collection. For personalized guidance tailored to your specific site and vision, our team of specialists is here to help. Don’t hesitate to Contact Our Canopy Experts Today for a detailed quote or to Schedule Your Free Design Consultation. Let’s build your ideal shelter together.