
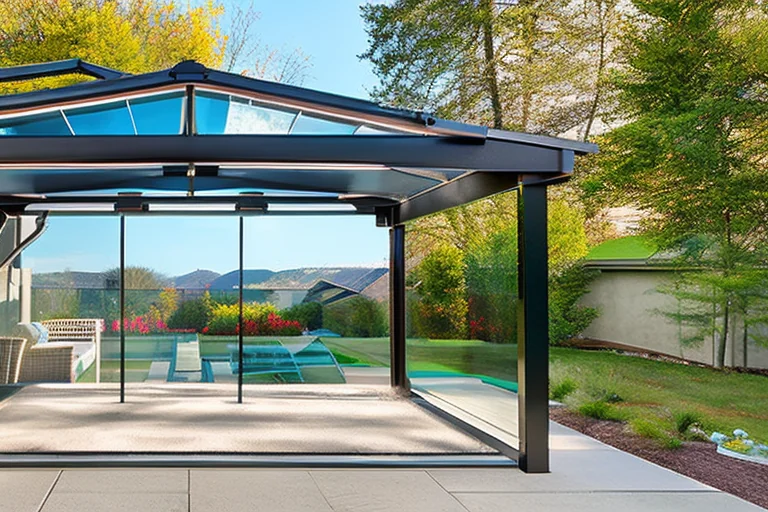
When designing a polycarbonate canopy, it’s easy to get captivated by the aesthetics—the crystal-clear views, the modern lines, the way light filters through. But as any seasoned architect or builder will tell you, the true test of a canopy’s design isn’t how it looks on a sunny day, but how it performs during a torrential downpour. The silent heroes of this performance are two fundamental engineering principles: roof pitch and drainage planning. Neglecting these aspects is the single most common mistake that leads to premature failure, leaks, and costly repairs. A well-planned slope and water management system are what transform a beautiful structure into a durable, functional asset that protects your space for decades. Let’s move beyond the surface and build a foundation of knowledge that ensures your polycarbonate canopy is as smart as it is stunning.
Why Roof Pitch is Non-Negotiable for Polycarbonate
Roof pitch, simply put, is the angle or steepness of your canopy’s roof. For polycarbonate structures, this isn’t a stylistic suggestion; it’s a structural imperative. Unlike traditional roofing materials that may shed water with a very minimal slope, polycarbonate panels have specific requirements dictated by their material properties and joint design. The primary purpose of pitch is to ensure rapid and complete water runoff. Without adequate slope, water will not flow off quickly enough, leading to ponding. Ponding water is public enemy number one for canopies. It dramatically increases the dead load on the structure, stressing frames and connections. It attracts dirt and debris, creating staining and reducing light transmission. In freezing climates, ponding water turns to ice, which can expand and damage panel edges or seals. Furthermore, many polycarbonate panel systems rely on overlapping profiles or sealed joints; a proper pitch is crucial to prevent water from being driven back up these seams under wind pressure, a phenomenon known as capillary action or wind-driven rain infiltration.
Calculating the Ideal Pitch: A Practical Guide
So, how steep is steep enough? The minimum recommended pitch varies based on the type of polycarbonate sheet and the panel span. As a general rule of thumb, multi-wall polycarbonate panels (like 4mm, 6mm, or 10mm twin-wall) require a minimum pitch of 5 degrees, or a fall of approximately 1 inch per foot. For longer spans or areas with heavy snow loads, increasing this to 10 degrees or more is highly advisable. Solid polycarbonate sheets can sometimes work with a slightly lower pitch, but adhering to the 5-degree minimum is a best practice that guarantees performance. Calculating this is straightforward. You need to know the run (the horizontal distance from the high point to the low point) and the desired pitch. The rise (the vertical height difference) is calculated as Rise = Run x tan(Pitch Angle). For a 10-foot run at a 5-degree pitch, the rise would be 10 x tan(5°) ≈ 10 x 0.0875 = 0.875 feet, or about 10.5 inches. Always confirm the specific manufacturer’s recommendations for the panels you select, as profiles can differ.
Drainage Systems: From Gutters to Ground
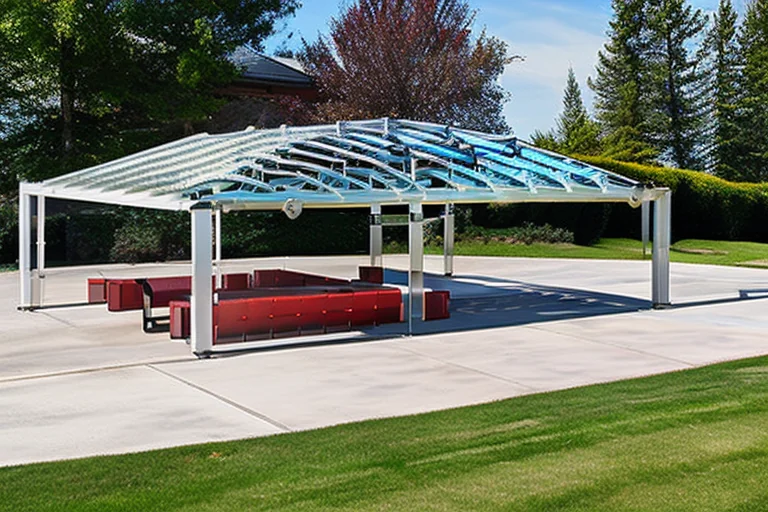
Pitch directs the water, but drainage systems carry it away. An effective drainage plan is what completes the water management puzzle. The most common solution is an integrated gutter system. For lean-to or mono-pitch canopies, a single gutter along the lower eave is standard. For gable or hip roofs, gutters will be needed on all sides. The key is sizing the gutter and downspouts appropriately for the canopy’s roof area (its catchment area). A canopy that drains into a larger roof’s gutter needs careful calculation to avoid overloading the existing system. Downspout placement is critical; they should be positioned to route water away from building foundations, walkways, and seating areas. For freestanding canopies, consider using decorative rain chains or directing water into a permeable gravel pit or garden bed. Some innovative designs for premium dome structures even incorporate internal channeling that hides all drainage components for a perfectly clean aesthetic.
Material and Installation Considerations
The choice of polycarbonate panel directly influences your drainage strategy. Multi-wall panels are lightweight and insulating but have channels that must run vertically, parallel to the direction of water flow. Installing them horizontally is a guaranteed path to leaks, as water will travel along the channels and seep into the end caps and structure. Solid polycarbonate sheets offer more flexibility but are heavier. All panels require proper sealing with compatible polycarbonate sealant (never silicone-based, as it can damage the material) at end caps and flashings. The supporting framework must be installed with precise leveling to ensure the designed pitch is consistent across the entire structure. Even a small low spot can become a ponding zone. Pay close attention to flashings where the canopy meets a wall; this is a high-risk area for leaks and requires a properly stepped and sealed flashing detail.
Avoiding Common Pitfalls in Design and Build
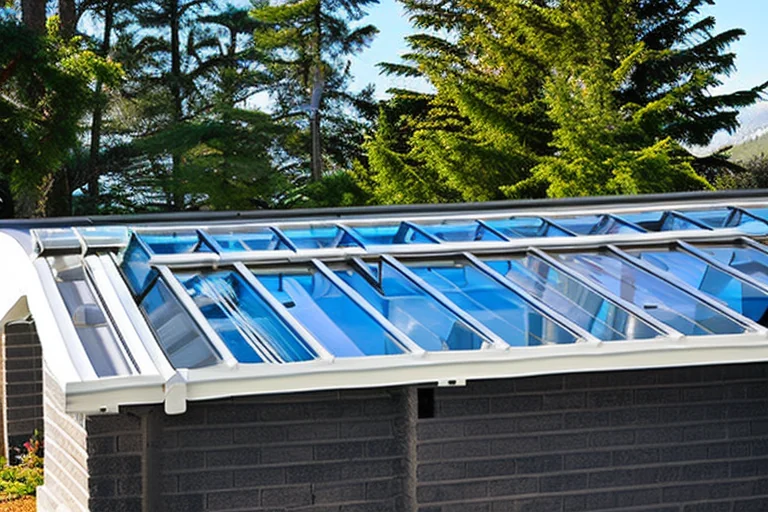
Many canopy failures stem from predictable errors. First is underestimating local weather data. Design for the maximum expected rainfall intensity and snow load in your region. Second is neglecting debris management. Gutters on canopies, especially under trees, need regular cleaning. Consider installing gutter guards. Third is improper handling of expansion and contraction. Polycarbonate expands significantly with heat. Panels must be installed with proper spacing and using drill bits that create oversized holes for the fasteners, allowing the material to move without stress. A stressed panel can warp or crack, compromising the waterproof seal. Finally, ensure all connections, especially for high-wind installation methods, are robust. A secure frame is essential for maintaining the integrity of the pitch and drainage system during storms.
Applications and Tailored Solutions
The principles of pitch and drainage apply universally, but their execution varies by application. A residential patio canopy attached to a house must carefully manage water runoff to avoid foundation issues, often tying into the home’s existing drainage. A commercial walkway canopy might need a steeper pitch and more frequent downspouts to handle a larger area and meet building code requirements for pedestrian safety. Carport canopies require careful planning to direct water away from vehicles and parking surfaces. For complex shapes like curved or pyramid canopies, drainage often converges at specific points, requiring reinforced gutters and larger downspout capacities. Each project demands a site-specific evaluation to create a harmonious and functional design.
Investing time in meticulous roof pitch calculation and comprehensive drainage planning is the hallmark of a professional-grade polycarbonate canopy. It’s the difference between a temporary shade solution and a permanent architectural feature that adds value and comfort to your property. By respecting the material’s requirements and the laws of physics, you create a structure that is effortlessly resilient, keeping the space beneath it dry and protected through every season. Don’t let your project be compromised by water—design it out from the very beginning.
Ready to design a polycarbonate canopy that stands the test of time and weather? Browse Our Complete Polycarbonate Canopy Collection to explore engineered solutions, or Contact Our Canopy Experts Today for personalized advice on pitch, drainage, and installation for your specific project. Let’s build something durable together.